Sunday, January 15, 2012

Trip computer hardware is almost done

I finished mounting the LCDs on the dashboard (using Biltema body sealant). It just needs to cure for a while so I can grind down the edges. While waiting for that, I implemented a simple console driver with a backing-store for the LCD and printf-like interface that outputs characters to the LCD and serial port simultaneously.
Modified Aygo center dashboard
I also finished the OBD-ii interface. I restored the 200Ω resistor on the active pulldown and added a 10kΩ pullup to Vbat. It seems to work fine so I'll keep it that way.
 
Since I draw power from an unswitched battery pin I need to avoid draining the battery when the car isn't running. For this I implemented a power management feature that probes for the ECU every 16 seconds via a watchdog timer and puts the AVR into standby mode when it detects the ignition is turned off.  The nice thing about that is that I don't have to implement any flash memory persistence for medium-term statistics.

Power consumption is around 8mA in standby mode and 40mA while running with full LED backlight. With 8mA standby current the car should be able to sit for at least two months without discharging.


Friday, January 13, 2012

Circuit testing and tweaks

Today I tried my home-grown OBD-ii interface in the car. At first it didn't work. I figured I probably had to boost the signals so I went back to the lab and made a solder bridge across the 200Ω resistor to maximize the strength of the active pull-down and added a 1kΩ resistor between the K line and Vbat for a stronger pull-up.


Now, when I send the byte 0x33 to the car at 5 baud it responds with three bytes 0x55 0x08 0x08 at 10k4 baud. This is the ISO9141 initialization sequence which means the circuit works!

I will probably try to weaken the pull-up/pull-down later but other than that the hardware implementation is pretty much done. Next is software.


Sunday, January 8, 2012

OBD to TTL transceiver circuit done

Well, I finished the transceiver circuit design and implementation. I added an extra transistor to avoid the transmitted data looping back to the rx port. It has only been tested with a multimeter so far, but it seems to do the right thing. The real test comes after I've implemented some initalization logic in the AVR. I'm still not sure if I need to add any external pull-up to the K line; will try first without and see how that goes.

schematic
stripboard

Edit: Note that real TTL serial idles high, but this implementation idles low. I'll invert the signals in the AVR code to save some components.

Saturday, January 7, 2012

ISO9141-2 K-line signalling

Based on information from various sources on the Internet, I've pieced together that the ISO9141-2 K-line interface transmits data frames over a single-wire, half-duplex, 10.4k baud serial protocol similar to RS232. The idle state is supposedly maintained by a 510Ω pull-up resistor to Vbat and the active/dominant state is implemented by an open collector driver. Sounds pretty straightforward to build a microcontroller interface for that.

One thing I couldn't figure out was if I'm supposed to provide the idle pullup or if the ECU provides it for me. I've seen some schematics on the Internet that include the pullup and others that don't. It feels kind of dangerous to install an open collector driver on a port where I don't know the properties of the pullup.

In order to figure that out, I devised a simple test: I installed a 460Ω resistor to ground on the K line and measured the voltage across it.

With the ignition turned on (but engine off) I measured 12.01V on Vbat,  10.39V on the K line when left floating and 231mV across my Rtest when installed. This leads to my conclusion that there is a weak (~20kΩ) pull-up in place and that it should be safe for me to put a small series resistor on my open collector line driver to protect against shorting.

Simplified, I think the line driver in the ECU looks something like this:

Current project: trip computer

Recently I've become increasingly annoyed by the shortcomings of the dashboard in my car (a Toyoya Aygo). Some of the annoyances are impreciseness of the fuel gauge, lack of coolant temperature display and the fact that I no longer have a real time clock. (The clock is integrated in the factory mounted car stereo which I've replaced with an aftermarket stereo)

I've looked for solutions and found the ScanGauge II trip computer quite interesting. But considering it's priced at €150 and is basically an OBDii interface with a microcontroller and an LCD display I decided I can probably build something better and cheaper myself.

A while ago I found the excellent swedish "electronics hacker store" electrokit and have been thinking about a suitable project to revive some of the things I learned while studying at ISY. So I ordered some AVR microcontrollers, LCD displays, voltage regulators and fired up the soldering station for the first time in a while.


Here is a picture of the current project status:
Work in progress trip computer
To the left is a stripboard with a TO220 package voltage regulator to convert the 12V car supply to the TTL levels I need for my trip computer circuit. I also put a one amp glass fuse on there for electrical safety so the car doesn't catch fire in case I screw up the soldering.

On top is the AVR microcontroller. It's a surface mounted package which comes presoldered on a breakout board under the Arduino brand name. It also comes with a pre-installed boot loader for rapid prototyping, which is nice.

The flat cables are dual HD44780-compatible LCD display outputs wired up to the AVR. Embedded in the hot-melt glue are also two NPN transistors and resistors for driving the LCD backlights with PWM.

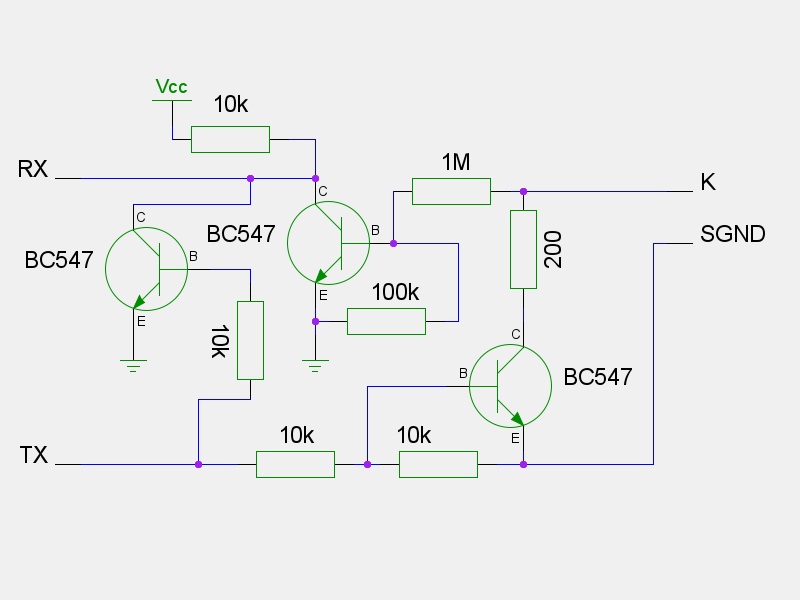
Not pictured is the TTL conversion circuitry for the car diagnostics port. I will probably finish that part tonight.

First post

I think it's time to create a place where I can ramble freely about computing, electronics, mad scientistry and society in general.